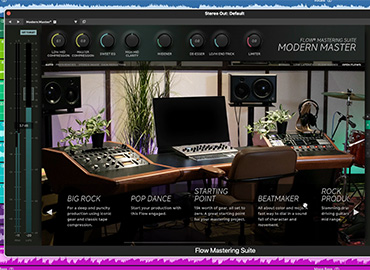
Flow® Mastering Suite | Go to the product page
Getting started with Flow® Mastering Suite
Follow this simple step-by-step guide to get started with the Flow® Mastering Suite plug-in.
1. Add the Flow® Mastering Suite plug-in to the master bus in your DAW.
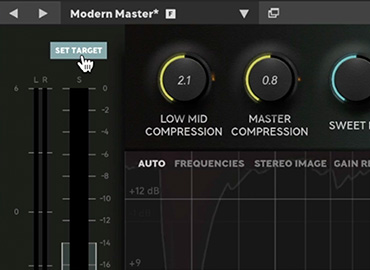
2. Play the loudest part of your track and click "Set Target" at the top left to make sure your levels are optimal.

3. Click the Flow® selector to choose a Flow that best suits the flavor of your track.
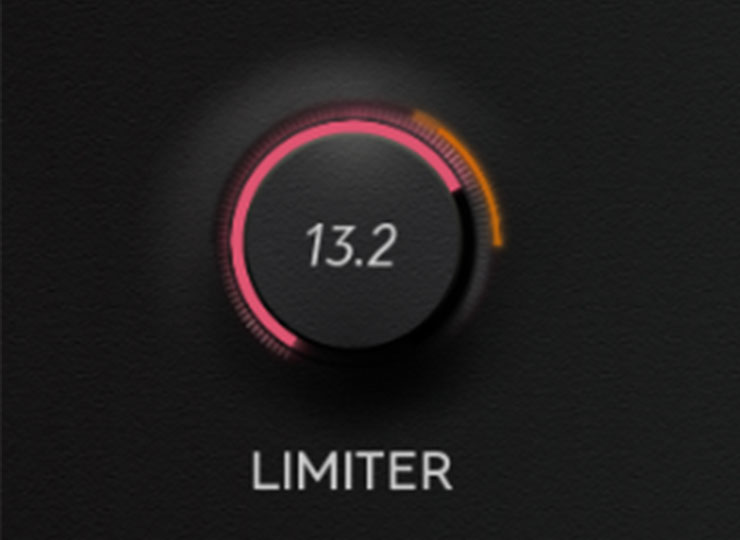
4. Adjust the Flow® controls at the top to your liking.
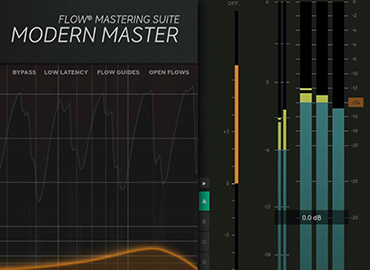
5. Check that your track is reaching the desired loudness level on the output meters to the right.
6. That’s it! A finished-sounding track in a matter of seconds.