The reverb chamber is the heart of every classic studio. It’s the secret sauce that creates the sound of the studio. And in the world of studios, only a handful of chambers have ever become legendary for their sound.
It is not difficult to build a simple reverb chamber, but building a great-sounding one takes a lot of skill (and maybe even some black magic). It’s not just about having a diffuse-sounding reverb tail, it’s the combination of resonances and air that creates the sound and the liveliness, and in the end, adds that perfect vocal reverb to your song.
We set out to make the ultimate chamber reverb plug-in. We wanted a chamber with a classic sound. One that feels just as modern today as it did fifty years ago. Our friends at Atlantis Studios happened to have just that—times two! With an unusually long decay and very dense walls, you get a bright, airy, and modern chamber sound.
The addition of modern controls, such as a dynamics section, adjustable decay times, movable mics, and tempo-synced predelay, give you even more flexibility than the original chamber—without losing any authenticity.
Atlantis Studios
This former cinema has been a recording studio since the 1950s, with international clients ranging from Quincy Jones and Meryl Streep to Lenny Kravitz, Green Day, Primal Scream, and Elvis Costello. Of course, nearly every Swedish band worth mentioning has recorded here as well, from Esbjörn Svensson Trio to Robyn, Ghost, Opeth, Roxette, and The Cardigans. Most of all, though, Atlantis (formerly known as Metronome Studio) is legendary for the career-defining hits ABBA recorded here in their 1970s heyday.
The studio’s two original echo chambers, both unusually large with a long and beautiful natural decay, were always a huge part of the legend surrounding this Stockholm landmark.
We set up shop at Atlantis with our team of engineers on a mission to capture every nuance of these chambers. Together with the crew at Atlantis, we recreated the original recording setup, down to the original microphones and in-chamber speakers, as well as the mechanical damping material used to alter the natural decay and timbre of the chambers.
The physical chambers, the speakers, and the microphone choices, as well as the signature signal chain used to capture the chamber reverb, are all essential components required to accurately recreate the unique sound of the Atlantis Chambers.
In order to fully explore the sonic possibilities of these chambers, we added a ribbon and a tube cardioid, as well as a modern full-range speaker. The captured echo chambers also have a slew of extra DSP processors, including an EQ and dynamics section, as well as spatialization, resonance control, and drive. The end result is Atlantis Dual Chambers, the Softube take on the legendary Chambers A and B at Atlantis Studios.
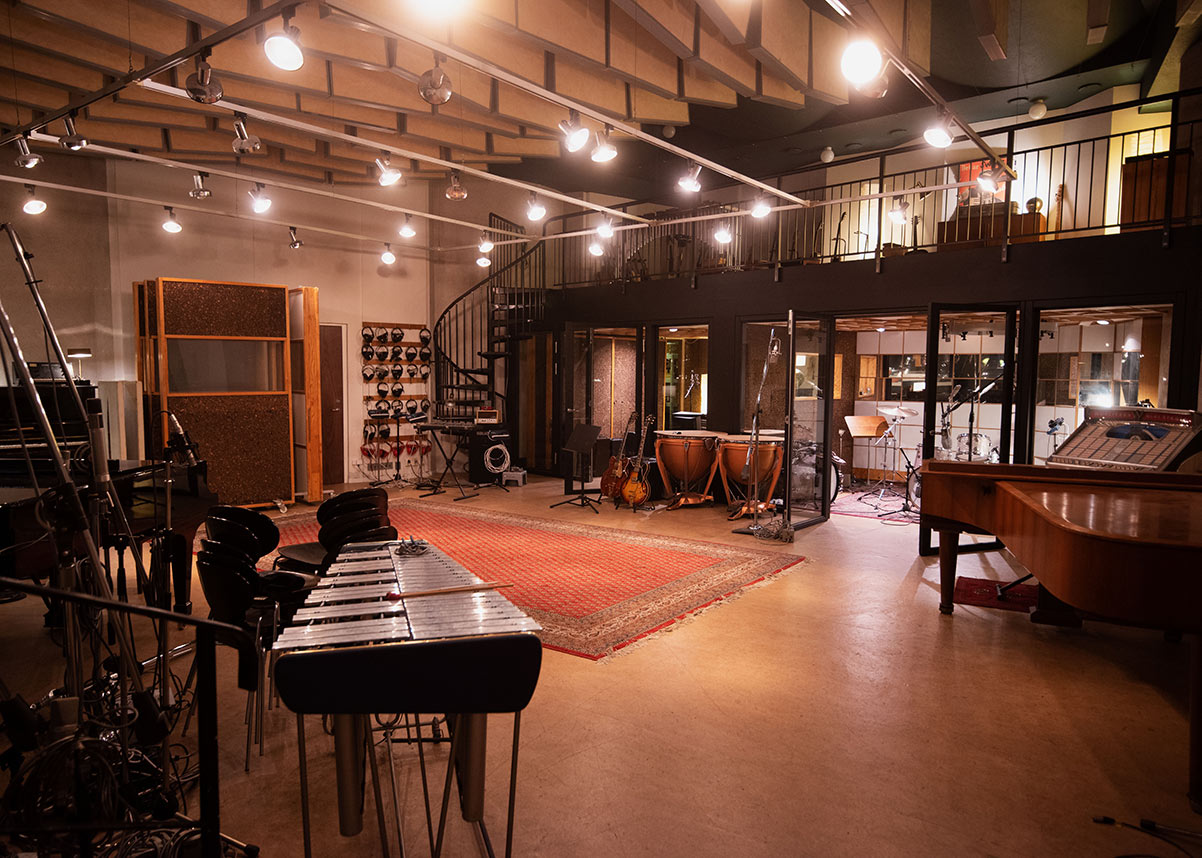
The large live room at Atlantis is featured on thousands of iconic recordings.
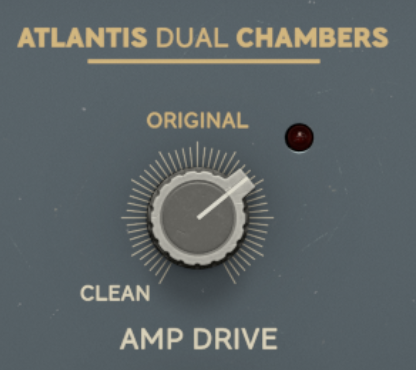
Many of the knobs have a setting marked in yellow, which indicates the “normal” setting that Atlantis Studios uses. With additional options, such as Decay and Mic Distance, the yellow settings (“ORIGINAL” and “FAR”) show the unaltered settings.
Predelay
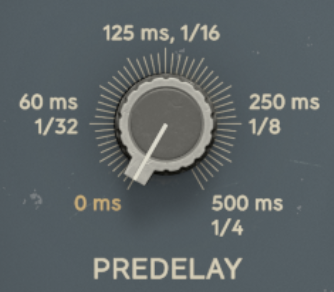
Sets the time between the end of the initial sound and the onset of the chamber’s early reflections, from 0 to 500 ms. Turn on Predelay Tempo Sync to set the predelay in subdivisions/beats instead, ensuring the predelay syncs to the tempo of the song.
Mic Distance
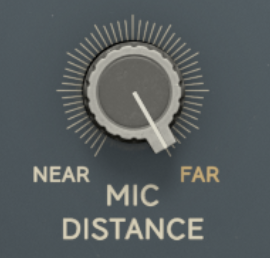
Moves the microphone in relation to the in-chamber speaker, allowing you to drastically alter the sound without affecting the predelay.
Resonance Control
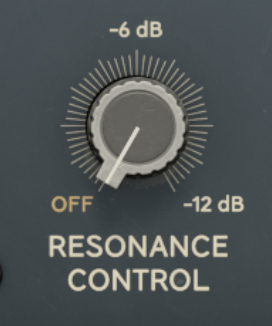
In any physical room, there will be resonances that cause certain frequencies to become more prominent. This is a big part of the character in any reverb chamber. This control tames any unwanted resonant frequencies that the source material brings out.
Decay
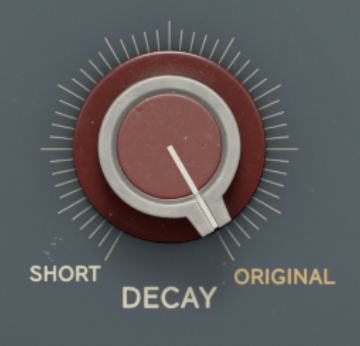
One of two techniques employed in this plug-in to shorten the natural decay of the Atlantis chambers. This is an algorithmic decay that retains the sonic characteristics and brightness of the chamber while dialing back the length of the reverb response.
Mechanical Damping
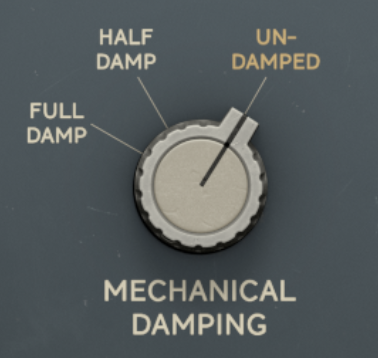
Apart from the algorithmic decay described in the previous section, the other method of dialing back the decay is the time-honored tradition of placing absorbents within the chambers themselves. We recorded the chambers in stages with progressively more absorbers added, in effect reducing the decay time as well as dialing back some of the top end.
Microphone selection
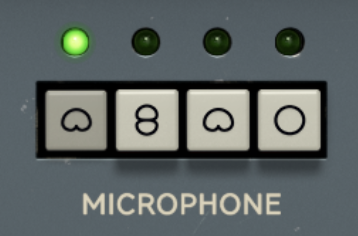
Modern cardioid
The Swedish Line Audio CM2 favored by the Atlantis crew for its balanced frequency response. This excellent workhorse microphone sees a lot of action in these chambers.
Figure 8 Ribbon
A vintage RCA 77 DX ribbon microphone in bi-directional/Figure 8 mode.
Tube Cardioid
A vintage Neumann U47 in cardioid mode.
Vintage Omni
The Electro-Voice RE55 dynamic omnidirectional microphones that were originally used to capture the chambers on many of ABBA’s greatest hits in the 70s make a comeback here.
Tip: De-selecting all microphones unlocks a hidden feature. We captured the sound of a modern, full-range speaker in Chamber A, as well as Chamber B.
Chamber selection
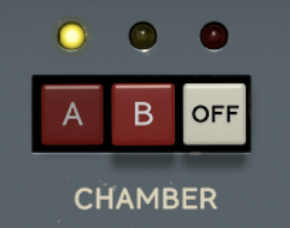
Select chamber A, B, or Off for each channel.
Amp Drive
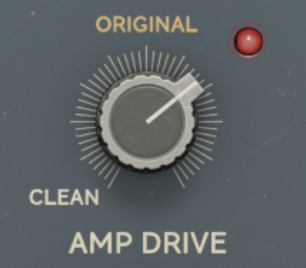
Crank up the in-chamber amp to get a muddy sound source to open up with added harmonics content, or dial it back for a darker sound.
Dry/Wet Mix
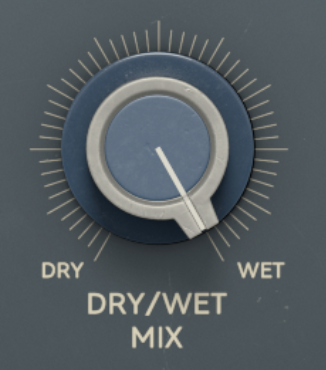
Atlantis Dual Chambers can be used as a send or insert effect. Note that the factory presets are all set to 100% wet.
Link L/R Controls
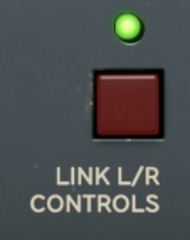
By default, the changes you make to the left channel controls are reflected in the corresponding controls on the right channel. For independent left and right settings, click here to unlink the channels.
Predelay Tempo Sync
Syncs the onset of the early reflections to your DAW tempo.
EQ, Dynamics, and I/O section

Click anywhere in the bottom section of the interface to reveal this section.
EQ Engage
Turns on the EQ section.
Low Cut
Sets the cut-off of the low cut filter.
High Cut
Sets the cut-off of the high cut filter.
EQ
This British-style equaliser has stepped frequency controls and an OFF position per band.
Low Shelf
Sets the center frequency of the low shelving band. Boosting the 35 Hz while cutting the lows at 45 Hz is instant gratification on a drum bus.
Low Gain
Sets the gain of the low shelving band.
Mid
Sets the center frequency of the peaking band.
Mid Gain
Sets the gain of the peaking band.
High Shelf
Sets the center frequency of the high shelving band.
High Gain
Sets the gain of the high shelving band.
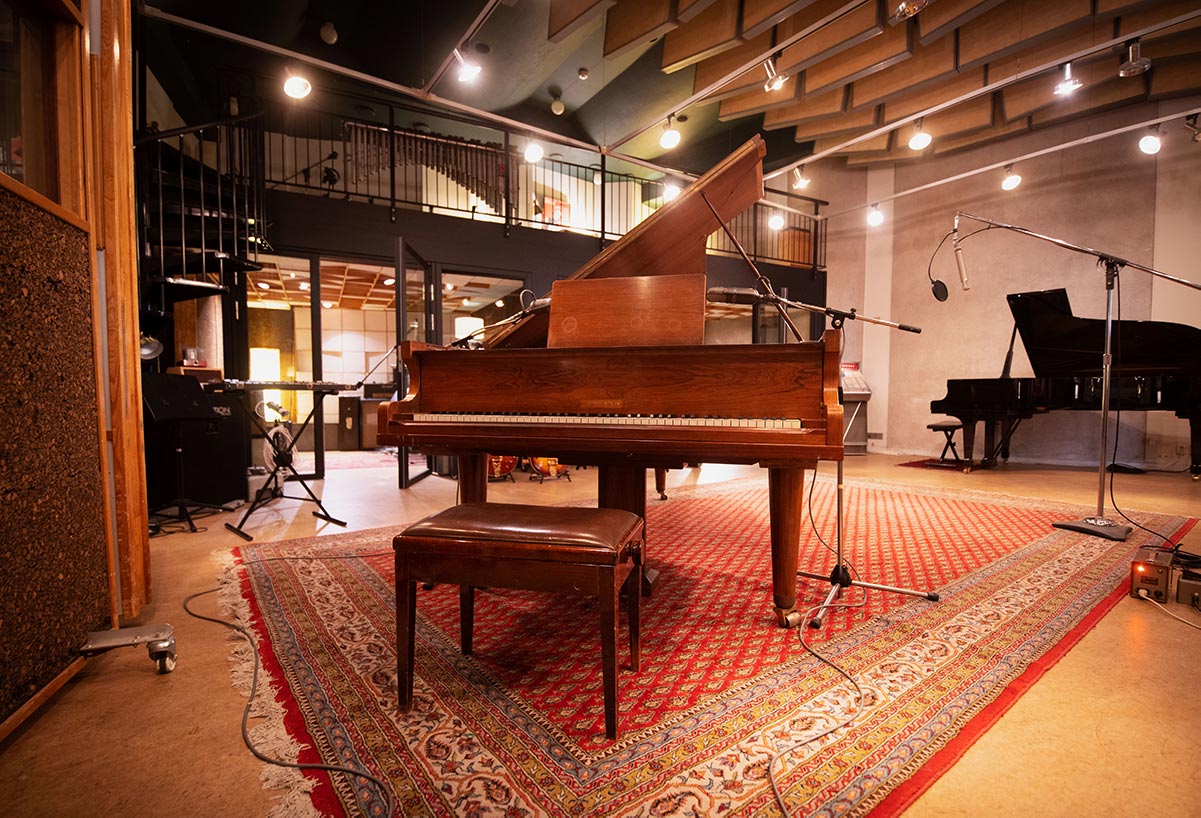
This unique Georg Bolin grand piano has been streamed more than 2 billion times on Spotify thus far. Largely thanks to its being featured on many ABBA hits like Dancing Queen.
The Dynamics Section
Amount
Sets the amount of gain reduction being applied.
Tip: Use the Headroom control in the Extended Features panel if you need more gain into the dynamics section.
Release
Sets the release time of the dynamics section.
Off
Disengages the dynamics section.
Comp
Compresses the dynamics of the wet signal to make the decay last longer. This creates a thicker reverb sound.
Duck
An internal sidechain keys the dynamics from the dry signal, ducking the wet signal when the dry signal is present. Perfect for preserving the clarity of vocals, for example. This feature is particularly handy when inserting the reverb directly onto a track.
Gate
The time-honored trick of employing a noise gate after a compressed reverb. A 1980s classic, recreated here for your listening pleasure. The noise gate is keyed to the dry signal.
I/O Section
This section lets you control how the stereo image is affected through the reverb. Over the years, there have been many different ways of hooking up the reverb chambers, and the I/O Section lets you try out all different use cases.
Stereo In/Stereo Out
Originally the chambers were meant to be used in stereo. Each chamber (A and B) had a single speaker and a single mic. This means that any sound that was panned hard left would only have a reverb in the left channel, and the mix could feel disconnected.
A classic trick to get a wider mix would be to flip the left and right channels from the reverb so that a hard-panned instrument to the left got a reverb in the right channel. That is what the Swap L/R Out button does.
Tip: Stereo In/Stereo Out is great if you want the reverb to feel “connected” to a particular instrument, for example, if you put it on a synth pad.
Mono In/Stereo Out
Nowadays, the studio usually only uses a single chamber, but with two mics set up in that chamber. That means that the audio going into the chamber is mono (only a single speaker), but the output comes from the dual mics and is stereo. It’s easier to get the reverb to fit into the mix, but you lose the stereo information.
-10 dB Bleed/Stereo Out
This is the perfect mix between Mono In and Stereo In. The stereo information in the input audio is more mono, but not so much mono that you completely lose the stereo image. The right channel gets the left channel audio, but attenuated by 10 dB.
In
Select the appropriate input source, from Mono to Stereo. The 12 o’clock position has a 10 dB bleed between channels.
Out Width
Select the width of the output signal. Beyond the Stereo Output marking along the dial’s travel, you have easy access to further stereo widening.
Tip: Contrary to intuition, making the reverb less stereo can make it feel more natural and the mix more focused. Making the width wider than stereo isn’t really making it wider since the reverb itself is already as wide as it can possibly be. But it will place it less in the center, which can create a space for other instruments in the center.
Swap L/R Out
By default, Atlantis Dual Chambers is set up as a modern Stereo In - Stereo Out reverb. However, a truly classic mode is available swapping L/R Out. The left side of the source stereo material will then be sent to the right-hand chamber and vice versa. Makes for a great vintage stereo reverb sound!
Out Balance
Sets the balance of the output channels.
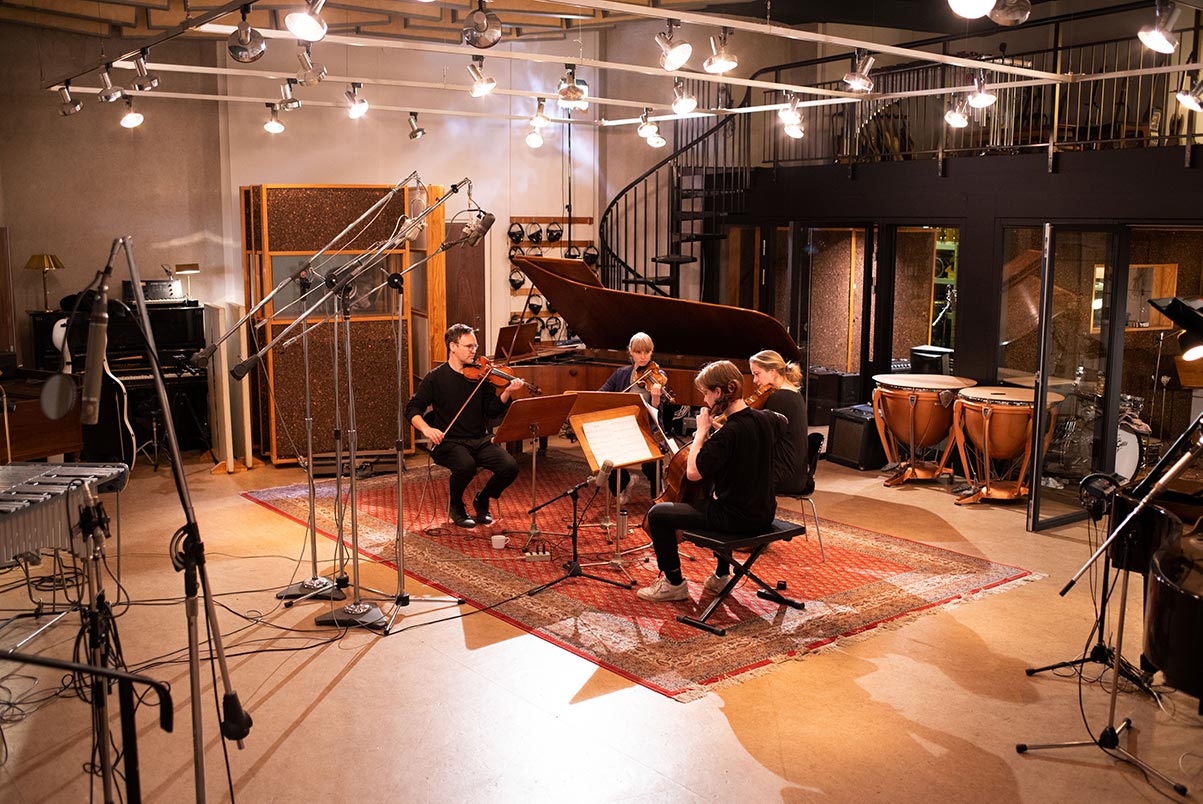
Atlantis is constantly bustling with activity. The central Stockholm facility often plays host to world-class tracking sessions, vinyl engraving, and Dolby Atmos mixing sessions.
A whole range of added control can be accessed with Extended Features. Please see the separate "Extended Features" manual for more information.
Anton Eriksson – Modeling
Niklas Odelholm – Product design
Björn Rödseth – Framework programming
Patrik Holmström – Framework programming
Johan Bremin – Quality assurance, presets and preset curation
Andreas Mood – Presets
Ulf Ekelöf – 3D modeling
Maxus Widarsson – Manual, presets and preset curation
Stefan Boman – Presets
Sami Sirviö – Presets
Thank you to Stefan Boman, Sami Sirviö, and the crew at Atlantis Studios for all your help!