User Manual
Vintage Amp Room
Intro
User Interface
White Amp
Brown Amp
Green Amp
Bypassing Amps or Cabs
Buying Recommendations
Extended Features
Credits
Straightforward and simple, Vintage Amp Room emulates three great guitar amps in a complete studio setup with speaker cabinets and fully flexible microphone positioning. It’s easy to use for live performances and recordings, as well as for reamping and lastminute tweaking.
Amp Room has none of the added gadgets or weirdsounding presets sometimes found in simulation software. Focusing on quality and accuracy, it simulates three amps, with sounds that are timeless and authentically raw. The goal is not to give you a preproduced, ultimate guitar sound, but to provide you with the ultimate tool to create your own. Because after all, only you know exactly what sound you want.
Product Philosophy
Everything about this product is authentic. The raw and dynamic sound is an absolute replica of what you would get if you had these amps set up in a real studio. What you see on the screen are photorealistic 3Drenderings of the complete setups, and you get to move an actual mic around when deciding which position is best, from near field offaxis to far field and back, continuously, without preset positions.
The idea is that using Amp Room should be like working directly with these amplifiers set up in a real studio, with a microphone in front of the cabinet, connected to your DAW. And we kept it simple. Amp Room has no knobs with dubious or unintuitive functionality, and no added gadgets or ridiculously fakesounding effects.
The sound of the amps has not been tampered with, because we don’t give you a preproduced, ultimate guitar sound. We simply provide you with the tools: three great, classic amplifiers, in digital form. Then it’s up to you to add compressors, EQs, reverb, or any other effects, to get the sound you want.
In short, you need the same skills to master this software as you need when dealing with a real studio setup. You can get back to doing what you do best, because music production is about using your ears, not your computer skills.
Supernormalize
The “supernormalize” feature (from the beginning the internal name of a slightly magic component of our model building toolbox), makes sure that the output signal from Amp Room always has a reasonable volume. From a user perspective, this means that the Amp Room never clips the signal (unwanted digital distortion). Also, the output volume is normalized, so even with low settings on the Volume knob in Amp Room, the output volume will be within a reasonable level and ready for digital recordings. Compare this to the real amp, which easily can have a dynamic range of 100 dB.
From a technical perspective, this means that the signal path within Amp Room always has the highest dynamic range possible, and you won’t lose any bits on the way.

Simplicity has been the goal when we developed this product; the amps and mics should work just as they do in the real studio. Unfortunately, moving a mouse cursor on a 17” LCD screen isn’t exactly like grabbing the real mic stand in a cozy studio. Nevertheless, we have tried to imitate that feeling as far as it is possible, and if you have experience of working in real studios, you will notice that Amp Room handles and sounds the way you expect it to do.
Amp Panel (Top Area)
In the Amp Panel you can alter the settings of the amp by clicking the knob and dragging the mouse up and down. Switches will be switched either by clicking on them, or by click- and-dragging the mouse up and down.
Amp Panel

Room View
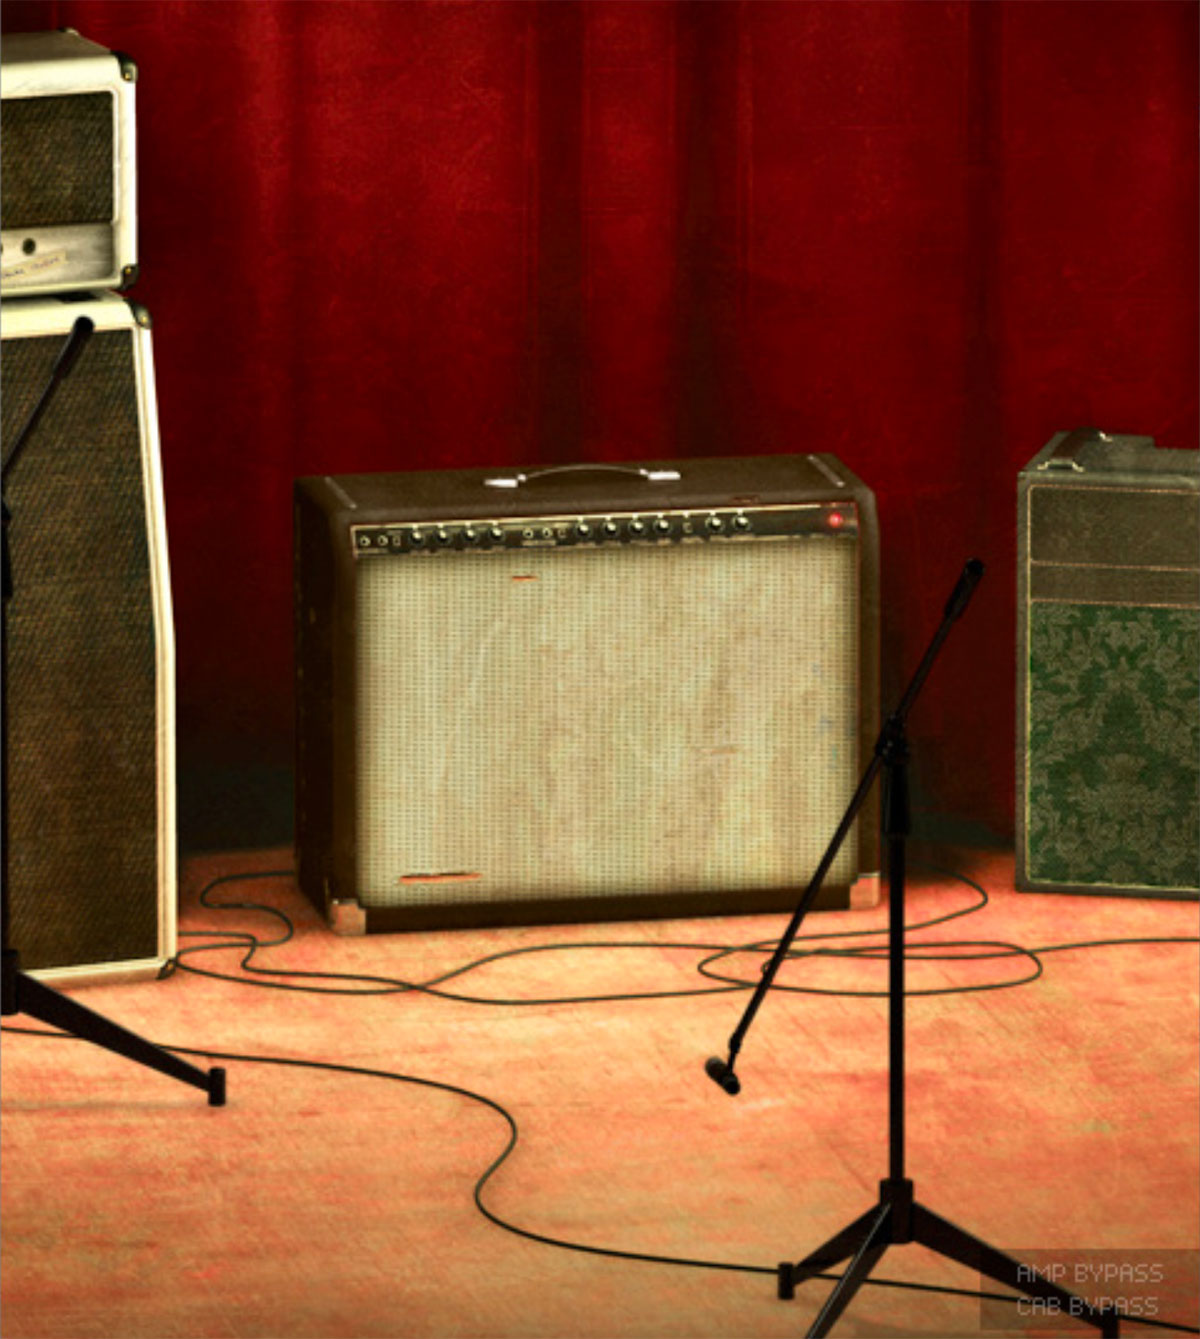
Room View (Bottom Area)
In the Room View you can do two things, select one of the other amps or change the mic position.
Mic Position
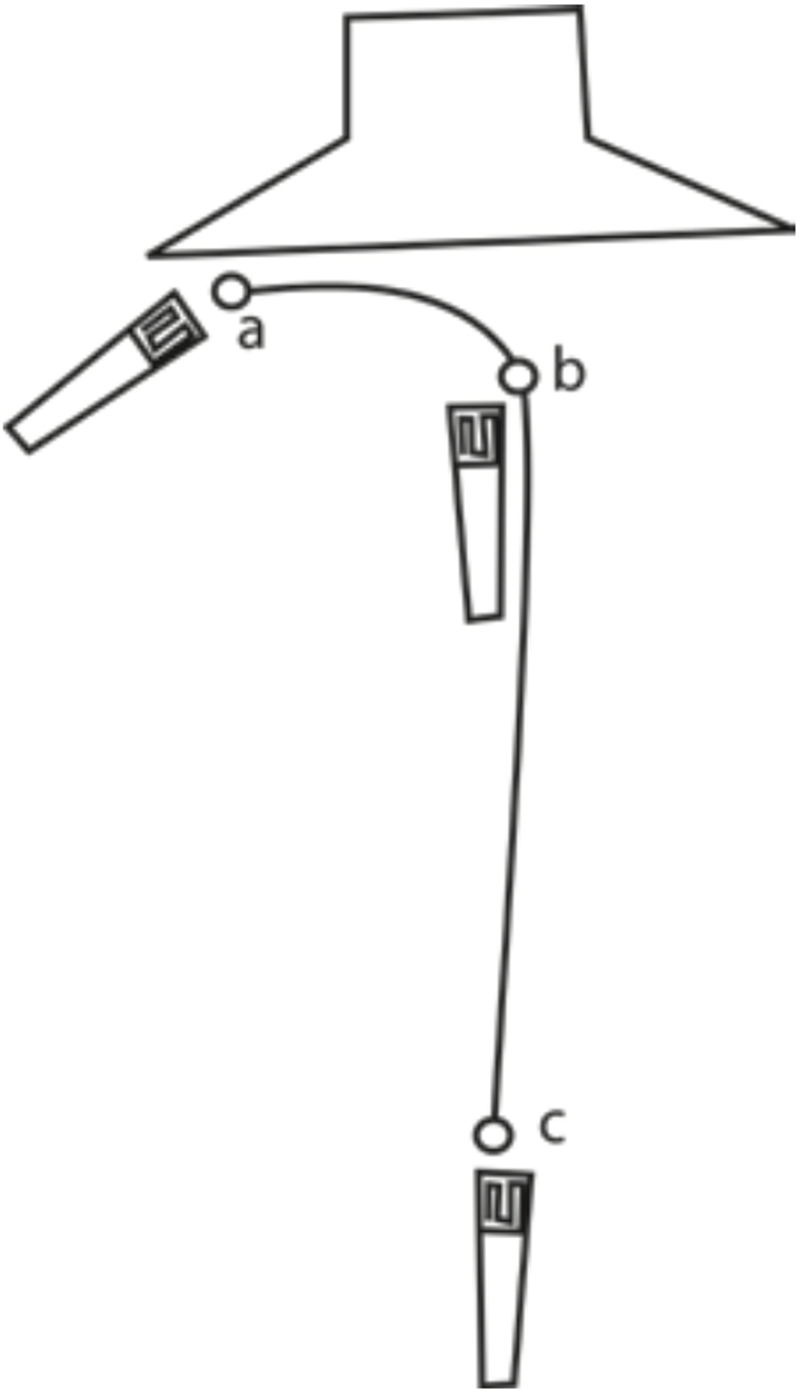
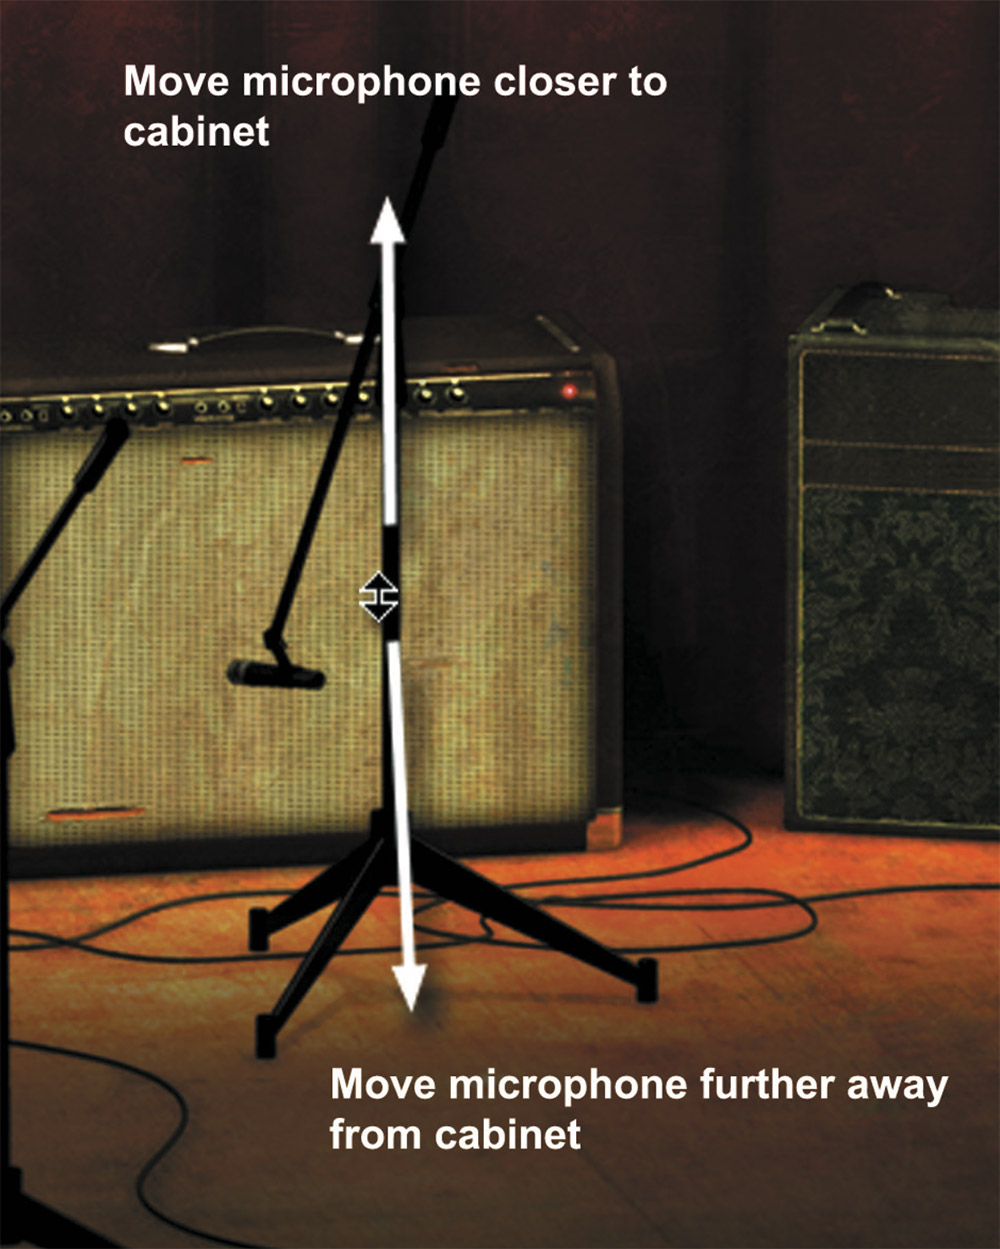
When the mouse is located over the mic stand, the mouse pointer changes to an “up-down” arrow. Click and drag the mouse up or down to change the position of the mic stand. The microphone moves along a predetermined path, so you only need to move the mouse up or down, just as if you were changing a knob.
Amp Selection
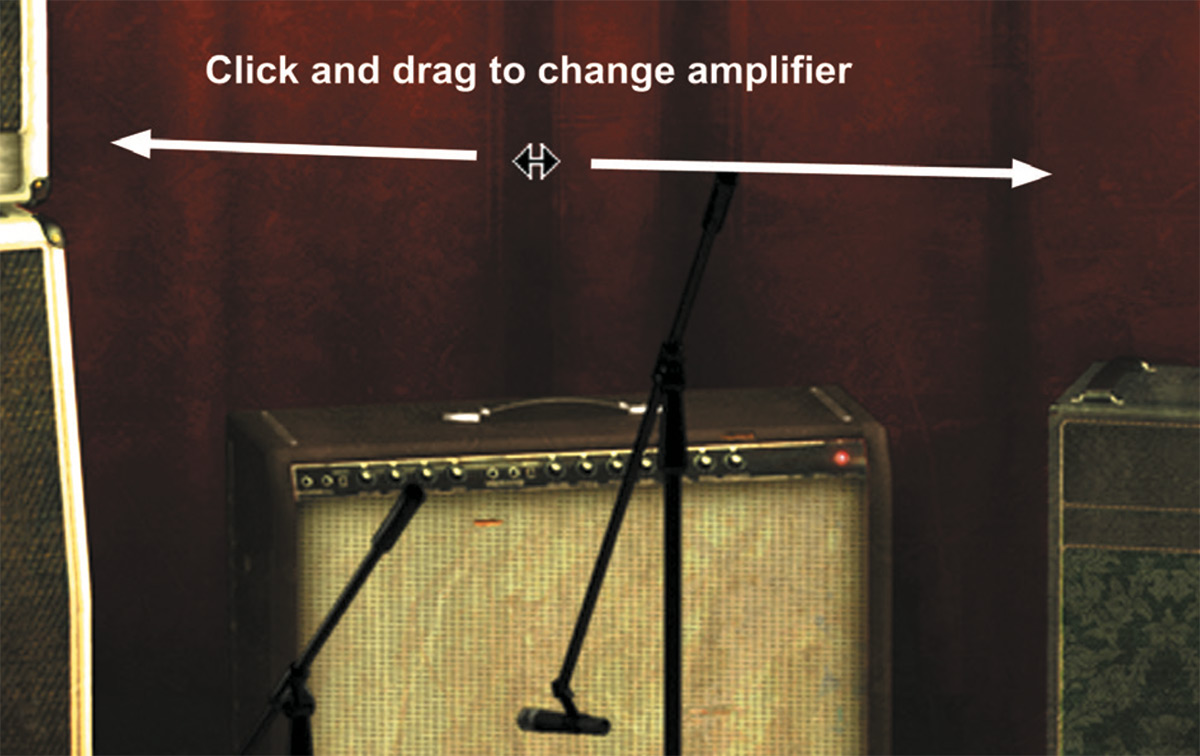
You can change amp by clicking on the background and dragging the mouse to the left or right. The mouse pointer becomes a “left-right” arrow when you are pointing at the background to indicate that it is possible to change amplifier.
White is based on an allround great amp, a classic that set the industry standard for classic, distorted rock’n’roll sounds. The genius is its simplicity. It’s stripped down to the bare essentials – all tubes, only one channel, and no reverb or any other built-in effects.
Soundwise, it goes from mad screaming preamp shred, to warm, speakersabouttobreak poweramp distortion. Perfect when you need a characteristically distorted edge and a powerful roar.
First Use
Set all parameters in the middle (12 o’clock). Turn down the Master Volume a little bit (to 10 o’clock) and play your guitar while changing the Pre Amp Volume. The sound goes from almost HiFi clean on low Pre Amp Volume settings, to a crunchy distortion (Pre Amp Volume in the middle), and finally to a high-gain setting with Pre Amp Volume on max. If you want an even meaner distortion, turn down the Middle and turn up the Master Volume.
The sound will change quite dramatically when you start moving the mic away from the cabinet, since certain frequencies will cancel each other out due to interference between the four speaker drivers.

Click here to view the full-sized image in a new tab
- Presence
- Bass
- Middle
- Treble
- Master volume
- Pre-amp volume
Knobs
The functionality of the knobs on the front panel of the plugin correspond exactly to the front panel of the real amplifier.
Presence: The presence is used to control the feedback loop and thus the amount of treble in the power amp. Turn it up to get a high frequency boost.
Bass, Middle, and Treble: These knobs are the tone control of the amplifier. This circuit is located after the preamp distortion and is used to shape the sound of the preamp distortion.
Master Volume: This knob controls the amount of power amplifier distortion. The power amp distortion is usually a little bit dirtier than the preamp distortion and gives a crunchier sound that sounds amazing for chords. Set the Pre Amp Volume to a low setting and turn up the Master Volume to the max to get that typical power amp distortion.
Pre Amp Volume: This knob controls the amount of preamplifier distortion, but since a high output from the preamplifier also makes the power stage distort, this also affects the power amplifier distortion. The preamp distortion is typically much “tighter” than the crunchy power amp distortion. To get a tight preamp distortion, you’ll have to turn down the Master Volume while maxing the Pre Amp Volume.
Brown is based on one of the most versatile classic amplifiers in music history. It’s been used in all kinds of genres, and with all kind of instruments, thanks to a sound that is clean, crisp and clear, but also warm, thick and punchy.
Brown can produce anything from the clearest countrystyle sound for steelguitars to a dirty, bluesy guitar sound. It works for both funky rhythms and mellow electric piano chords. It’s got a notoriously warm sound with a massive bass and a shimmering treble. Versatility embodied, it can do more or less whatever you want it to do. Except high gain heavy metal. And baking pizzas.
First Use
Set all knobs in the middle (at 12 o’clock). Set the microphone in a far field position (click the mic and drag the mouse downwards). Turn on the Vibrato and Bright switches. You should hear a bluesy sound with lots of room ambiance and a nice transition between distortion and a clean sound. Change the Volume to get more or less distortion and move the microphone closer to the cabinet to get a “tighter” sound with more bass frequencies.

Click here to view the full-sized image in a new tab
- Bright
- Volume
- Treble
- Middle
- Bass
- Vibrato On/Off
- Vibrato speed
- Vibrato intensity
Knobs
The functionality of the knobs on the front panel of the plugin corresponds to the front panel of the real amplifier, except the spring reverb, which hasn’t been included in this plugin. We have also added a “Vibrato” switch, which on the real amplifier is a foot switch. There is also a difference when all the tone controls are set at 0, see “Treble, Middle, and Bass” below.
Volume: This amplifier doesn’t have a Master Volume control, so the Volume knob controls both the preamplifier and power amplifier distortion.
Bright: Turn on this switch to get a high frequency boost. Works only at low to moderate Volume settings.
Treble, Middle, and Bass: These knobs are the tone control of the amplifier, but they also control the amount of distortion. If you, for example, have too much distortion in the bass frequencies, try turning down the Bass knob. (Electrically speaking, the tone controls are located before the preamp distortion.)
The tone controls behave exactly like the real thing, except when all the controls are set fully counter clockwise. On the real amp, the amplifier would have become silent, as if you turned down the volume. A lot of reasons made us exclude this “feature,” so now when you turn the Treble, Middle and Bass knobs fully counter clockwise, that actually corresponds to the knobs being set to a little bit over nothing on the real amp.
Vibrato, Speed and Intensity: Turn on the vibrato (which is in fact a tremolo) by turning on the Vibrato switch. Use Speed to control the speed of the tremolo, and Intensity to control the amount of the tremolo effect.
Green is packed with character and produces a pleasant guitar sound with warm yet intense poweramp distortion. Its edginess makes it shine through in mixes, without drowning out other instruments.
Green is based on a famous britpop amplifier from the middle of the 60’s. It has three different channels (“VibTrem”, “Normal” and “Brilliant”) with two inputs each, and normally a guitar player will connect the guitar to the “VibTrem” input and patch the signal to the other two channels. We have simulated the amplifier exactly this way; the guitar connected to the “VibTrem” input and patched to the other two channels.
To complicate things further, this amp doesn’t have a normal tone stack (EQ) but a single tone control which attenuates high frequencies when turned clockwise (different to what one would expect of a tone control). The previous owner of the original amp was so kind as to carve out “HI” and “LO” in the metal panel so that he would remember this. We have of course included this feature in Amp Room.
First Use
Turn on the vibrato/tremolo effect (Vib-Trem Off-On) and select the tremolo effect (Vib-Trem Switch pointing at “TREM”). Set the Vib-Trem Volume knob in the middle position and all other knobs in the minimum position. Now adjust the Brilliant Volume to get a good balance between the tremolo effect and a clean sound.

Click here to view the full-sized image in a new tab
- Vib/Trem Off/On
- Vib/Trem speed
- Vib/Trem switch
- Vib/Trem Ch. volume
- Normal Ch. volume
- Brilliant Ch. volume
- Tone
Knobs
The functionality of the knobs on the front panel of the plugin corresponds exactly to the front panel of the real amplifier, except that we have added the foot switch as a “Vib-Trem Off-On” switch.
Vib-Trem Off-On: Turn on the vibrato or tremolo effect by moving this switch clockwise.
Vib-Trem Speed: Three way switch that sets the speed of the vibrato or tremolo effect.
Vib-Trem Switch: Select between a vibrato and a tremolo effect. Unlike the makers of the Brown amp, the guys who built this amp actually knew the difference between a tremolo effect (amplitude modulation of a signal) and a vibrato effect (frequency modulation of a signal). Although this vibrato effect doesn’t sound anything like a real-world vibrato (operasingerstyle vibrato), it’s a lovely effect that gives the sound that special touch.
Vib-Trem Volume: Volume control of the Vib-Trem channel. This channel is basically the only one of the three channels that has any preamp distortion worth talking of.
Normal Volume: Volume control of the Normal channel. Except for the fuzz-like poweramp distortion on higher volume settings, this channel is very clean and doesn’t change the guitar sound so much.
Brilliant Volume: Volume control of the Brilliant channel, which has a much brighter sound than the Normal channel.
Tone: The Tone knob cuts high frequencies when it’s turned clock wise.
Use the Vib-Trem Volume to get the distortion you want, and then use the Normal and Brilliant Volume as a bass and treble control. If you want a more fuzz-like distortion, use only the Normal and Brillant channel.
You can choose to bypass the amp or the cabinet by selecting AMP BYPASS or CAB BYPASS from the small box in the lower right corner.
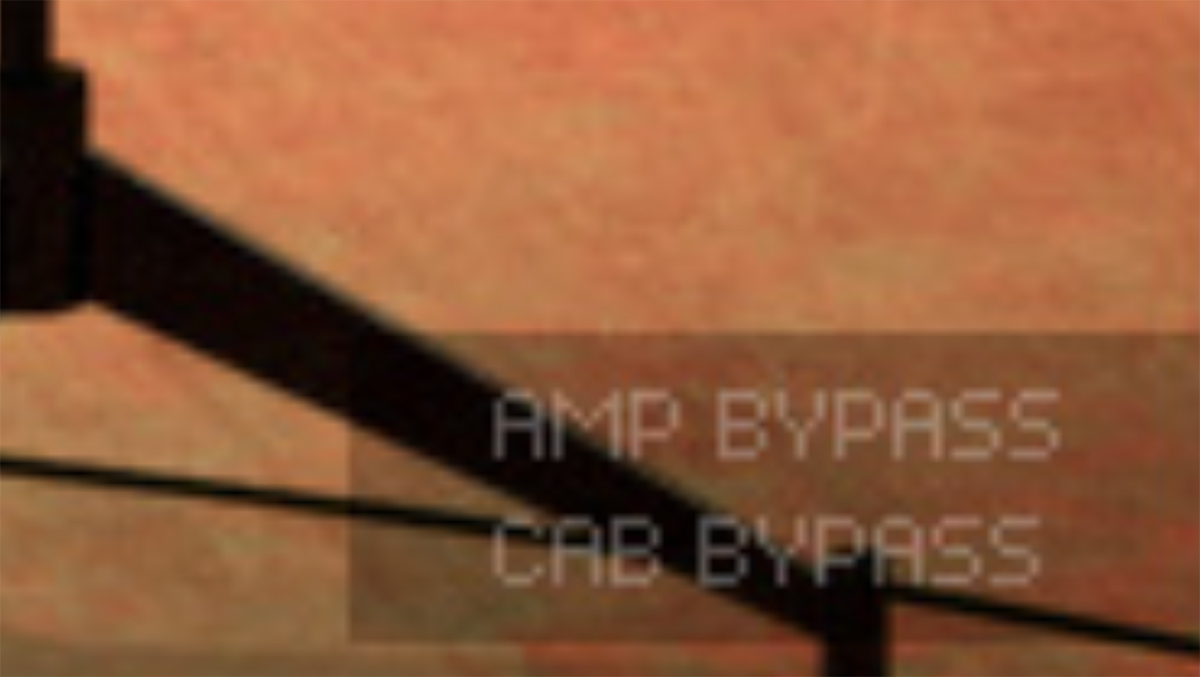
This is very useful if you want to use Vintage Amp Room with an external speaker (or speaker plugin) or if you just want to add a cabinet simulation to a track, such as a recorded lineout from your amplifier.
By bypassing the cabinets in Vintage Amp Room, you can use the cabinets from the other Amp Room plugins. Just insert, for example, Bass Amp Room (with bypassed amplifier) on the track after Vintage Amp Room (with a bypassed cabinet).
If you like the sound from Amp Room and would like to get that sound using the real deal (let’s face it, a real vintage amp is always sexier than a plugin), here are some buying recommendations.
White
If you like the sound of the White amp, we recommend you to buy a Marshall JCM800 2203 with a 1960A 4x12” cabinet. Nothing beats the roar from a 100W valve amp.
Brown
Likewise, if Brown is your favorite, we strongly recommend a 1966 Fender Twin Reverb combo with a 2x12” cabinet.
Green
Nothing beats the real stuff, and that quirky vibrato calls for a Vox AC30/6 Treble from the middle of the 60’s, perhaps suited with a pair of new Celestion Blue drivers.
Room
And finally, if you like the sound of the room in which the cabinets we’re measured, you better call Soulmine Studios in Linköping and book some studio hours. Just tell them to set things up just as they did for the guys from Softube, and you’ll be fine from there...
MARSHALL IS A TRADEMARK OF MARSHALL AMPLIFICATION PLC. FENDER IS A TRADEMARK OF FENDER MUSICAL INSTRUMENTS CORPORATION. VOX IS A TRADEMARK OF KORG (UK) LIMITED. CELESTION IS A REGISTERED TRADEMARK OF KH TECHNOLOGY CORPORATION.
A whole range of added control can be accessed with Extended Features. Please see the separate "Extended Features" manual for more information.
Oscar Öberg – Concept, preamp modeling, soundand DSP-programming
Niklas Odelholm – Cabinet and microphone modeling and sound design
Arvid Rosén – Power amp modeling and sound programming
Torsten Gatu – Interface and DSP programming
Per Connman – Amp selection and modeling
Anders – Graphics programming
Ulf Ekelöf – Graphics programming and 3D rendering
Micko – 3D rendering
Papa Bear – Collages and graphic profiling